Soil Sampling with VRAFY
Learn the steps to soil sample on your own with VRAFY

Written by Sawyer Hansen
Updated at May 28th, 2025
Table of Contents
Overview
This article walks you through collecting soil samples as a VRAFY customer. It includes an overview of the equipment needed and the in-field process.
Process
Before Going to the Field
- Contact VRAFY to request soil sample points to be created and sent to your John Deere Operations Center.
- We will need to know the following:
- Will you be using the same locations as a past sampling activity?
- Will you be Grid Sampling or utilizing Zones?
- What is your target grid size?
- Which lab do you plan on utilizing?
- We will need to know the following:
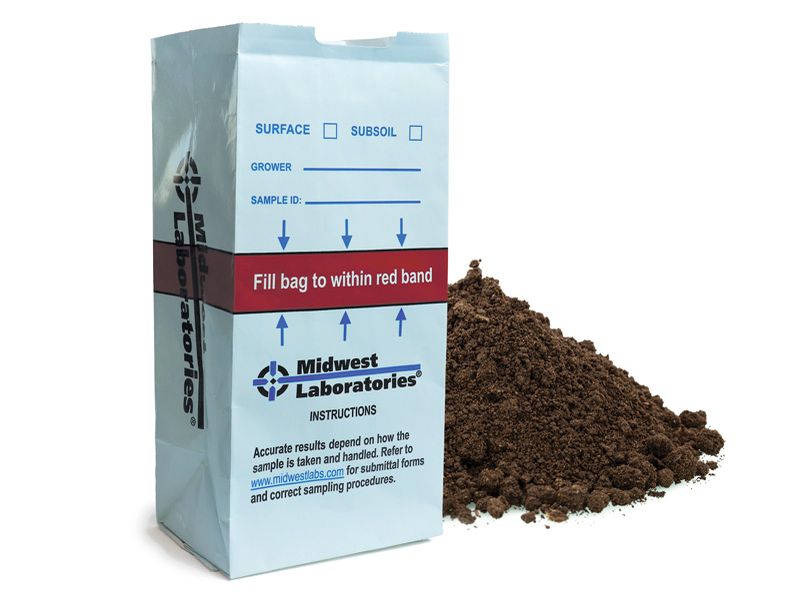
- Request soil sampling bags from your lab, or VRAFY if using one of our partner labs
- Once you receive your sample bags, label them with the field name and sample ID numbers.
Gather Tools for Sampling
- Phone or Tablet with John Deere Ops Center Mobile App Installed
Don't Forget a Charger!! GPS will drain your battery quickly!

- Extra sampling bags - in case you want to take extra samples in the field
- Marker for extra soil sample bags

- Soil Probe

Tip! Make a mark at 6" on your probe to make sure you are taking a consistent sample in the field

- Bucket

Optional Items
Wood Dowel and Brush for cleaning the tip of your probe
WD-40: Spraying a small amount will prevent soil from sticking to your probe while not affecting the results.
Canning Jar Funnel: Helps keep sample bag open when pouring cores in

In the Field
Tip! Check out this 5-minute YouTube Video from AgPHD that contains many good tips for collecting samples in the field: Video
Tip! Check out this KB Article on using the John Deere Operations Center Mobile App to navigate to your points:
Navigating to Soil Points using Operations Center Mobile App
- Navigate to the first Soil Point and park your vehicle on top of the virtual flag
- Using your probe, walk around your vehicle, collecting 8-10 six-inch soil cores. Place each core in your bucket.
- Stay within 10-15' of your vehicle - don't make too big of a circle
- When collecting each core:
- Remove residue from the top of the soil so it doesn't end up in your sample
- Insert the probe vertically into the soil
- Vary your location within the row - don't always go in the center between the rows, especially if you band your fertilizer
- After collecting the cores, pour them into the sample bag labeled to match your location number.
- Drive to the next sampling point. Repeat until all locations are collected.
After Sampling
- Print off the soil sampling check-in sheet from your lab. If you are using a VRAFY partner lab, print off the check-in sheet from the John Deere Operations Center.

- Fill out the Check-in Sheet completely so the lab can process the samples correctly.
- If using Midwest Labs, see this article: Filling Out A Midwest Labs CheckIn Sheet
- Place your check-in sheet with the samples in a shipping box
- Ship your samples to your preferred soil sampling lab
Once Soil Sample Test Results Are Received
Tip! If using a VRAFY Partner lab, the soil test results should be automatically imported into your Operations Center account after the lab analyzes the soil.
- Upload the soil sample results to VRAFY.com using the Returning Users link.
- Enter your Name and load your results in .csv or .xlsx format in the box
- Important! We cannot process results loaded as a .pdf
- VRAFY will be notified automatically and will upload the results to your Operations Center account.

If you have additional questions or you would like some assistance, feel free to call or text us at 507-800-0898 or schedule some time with one of our experts here: Schedule Meeting